LoginApp: Creating the Homepage and Login Screen
Published: October 8, 2025
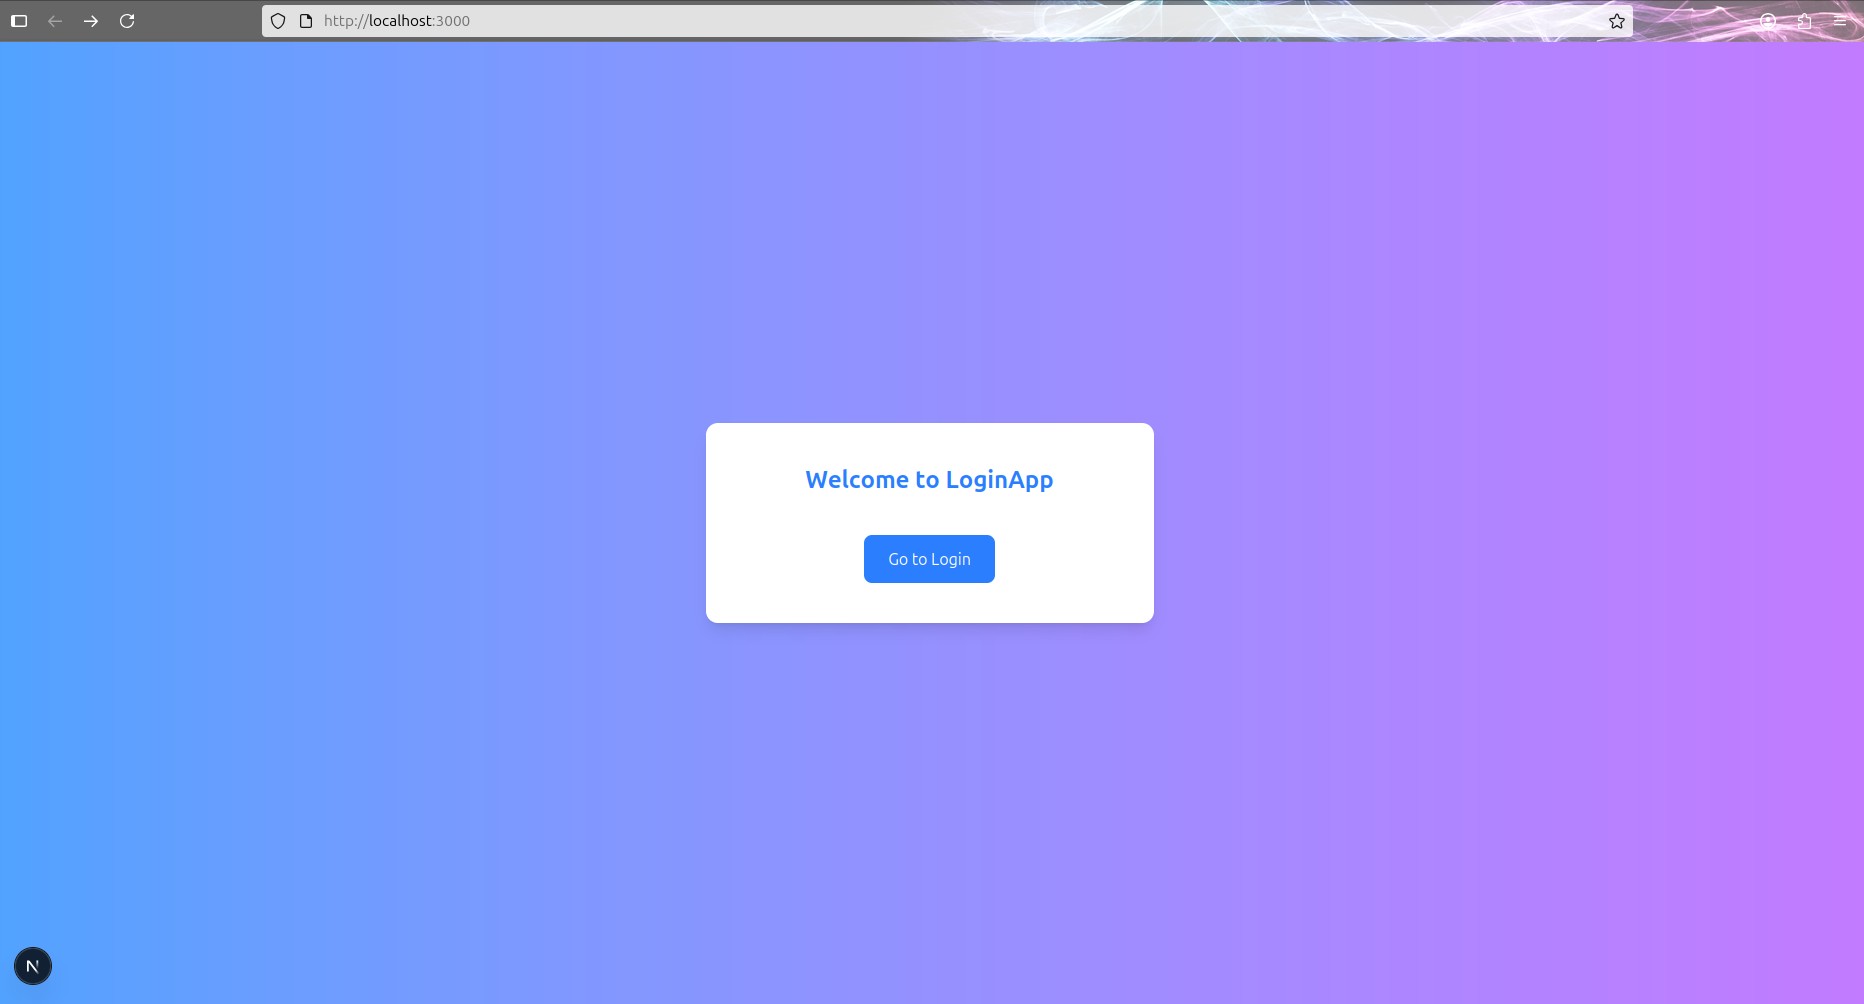
With the base environment in place, I could move on to the first screen, the homepage. I wanted something simple but welcoming, so I set up a centered white card on top of a blue‑purple gradient background. Inside the card, I added a header and a button that linked to the login page.
And here’s the initial code of the homepage:
import Link from "next/link"

export default function Home() {
  return (
    <main className="min-h-screen flex items-center justify-center bg-gradient-to-r from-blue-400 to-purple-400 font-sans">
      <div className="bg-white p-10 rounded-xl shadow-lg w-full max-w-md text-center">
        <h1 className="text-2xl font-bold text-blue-500 mb-6">
          Welcome to LoginApp
        </h1>
        <Link href="/login" className="bg-blue-500 text-white px-6 py-3 rounded-lg hover:bg-blue-600 transition">
          Login
        </Link>
      </div>
    </main>
  )
}
Next, I created a /login route and started shaping
the login page. I introduced input fields for username and
password, wrapped them in a <form>, and
included a login button. Using a <form>
enables keyboard submission (pressing Enter) and improves
accessibility.
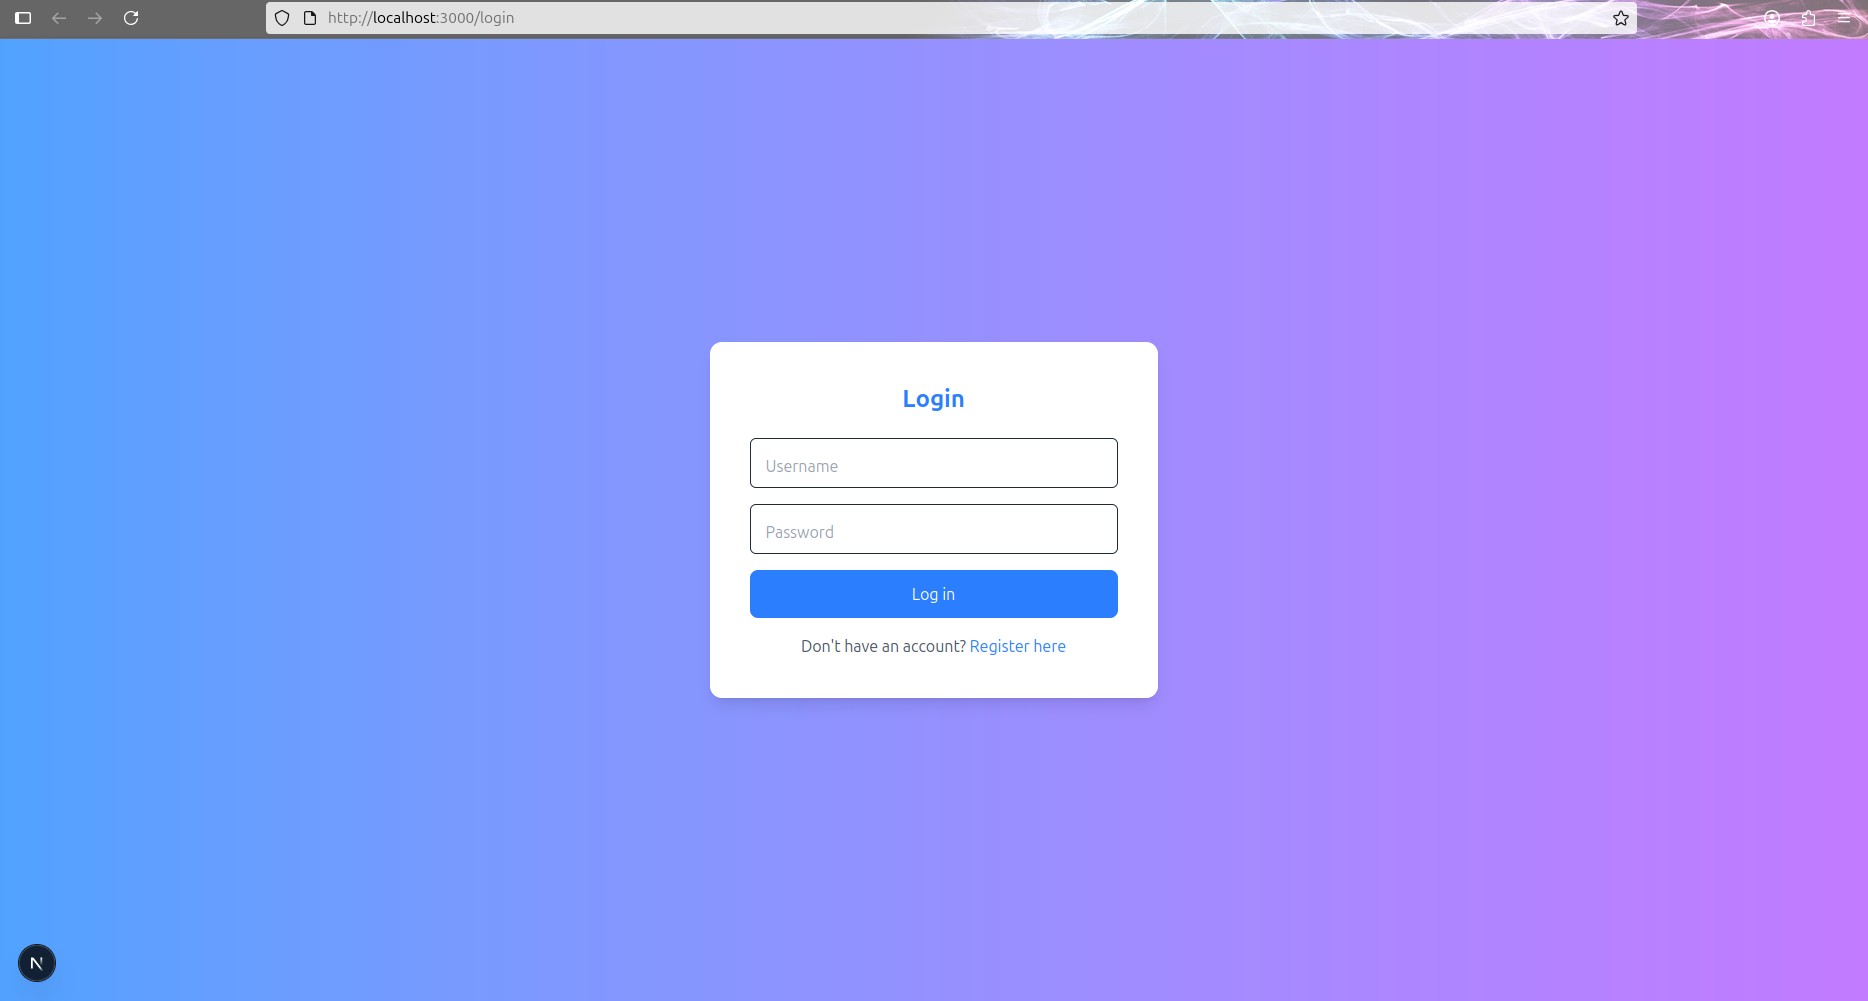
I added the gradient background and the card layout to match the
homepage. From there, I adjusted the spacing so both pages felt
consistent. Then I wrapped the button inside a
<div> and added extra margin above it to make
the layout breathe better.
By the end of these steps, I had two consistent screens: a homepage that welcomes users and points them to the login page, and a login page with a form and a path forward for new users.